MuClipse
An open source mutation testing plug-in for Eclipse
Installing MuClipse from Update Site
MuClipse currently comes from an update site, which is usable in either Eclipse v3.3 or Eclipse v3.4. The following instructions show you how to install MuClipse for Eclipse v3.3; we hope the steps for Eclipse v3.4 are easy enough.
- From an open Eclipse workbench, go to Help -> Software Updates -> Find and Install...
- Select the bullet "Search for more updates to install". Click Next.
- On the dialog box that appears next, click "New Remote Site..." and enter the data into the fields as you see below.

Figure 1: Configuring the Update Site - After clicking OK, be sure that none of the other sites are checked and that "MuClipse" is checked. Click Finish.
- A new dialog box will appear with MuClipse as an option to update. Make sure that it is checked and click Next.
- On the next frame, select "I accept the terms of the license agreement" and click Next.
- A new frame will appear which has the MuClipse feature and the install location. NOTE: Be sure the install location is the default Eclipse directory! Click Finish.
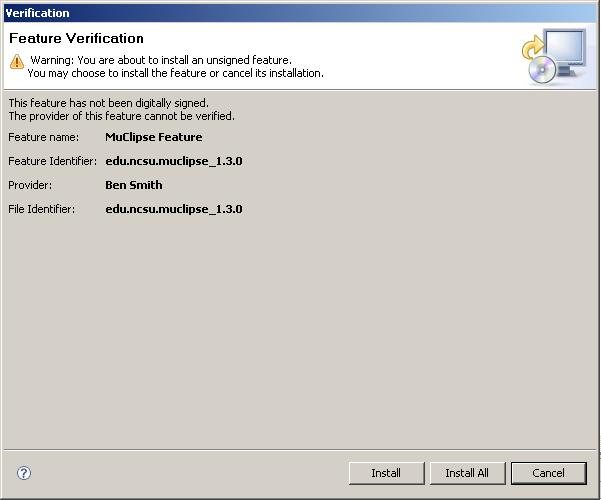
- The following dialog box will appear:
Click Install.

Figure 2: Configuring the Update Site - After the installation process is complete, Eclipse will ask you if you would like to restart the workbench. Click Yes.
Documentation
Using MuClipse
Other sites